主题
VitePress 添加图片查看器 Fancybox
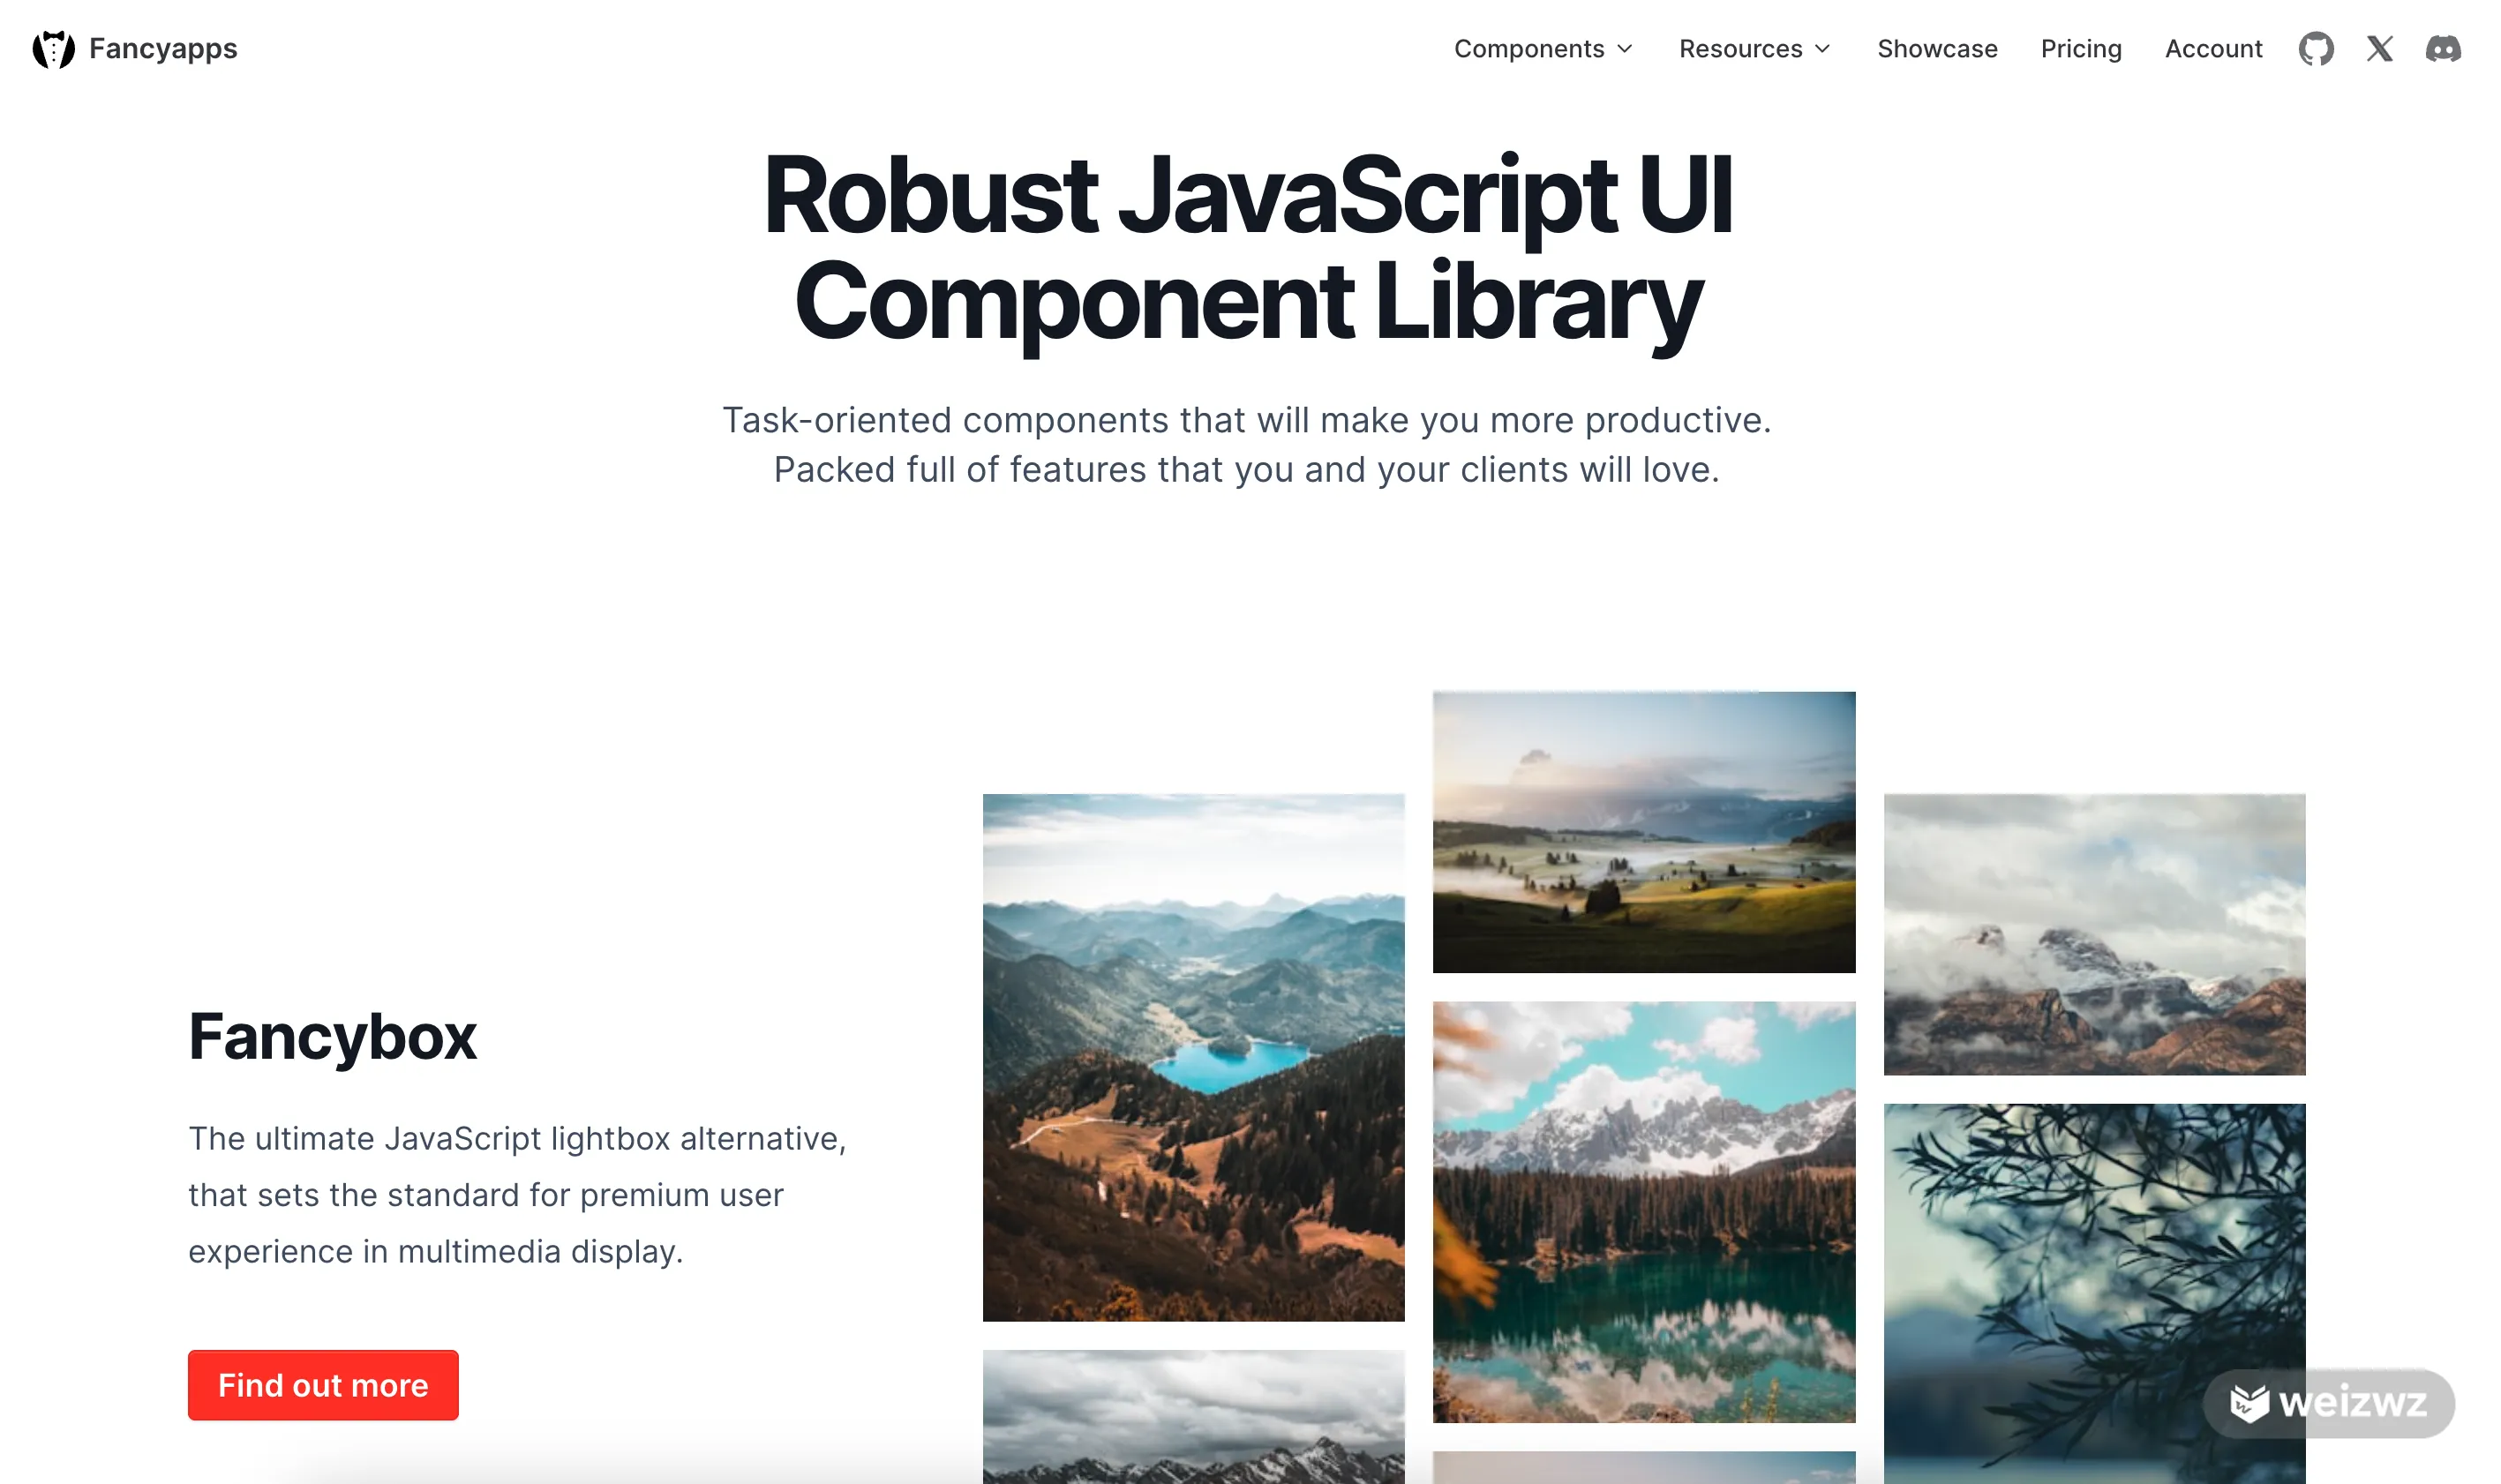
Fancybox简介
Fancybox 是一款非常流行且功能强大的 JavaScript 图片查看库。之前博客采用Hexo框架的时候,使用的 butterfly主题 就默认内置的 Fancybox。其在保持轻量化的同时,还支持丰富的功能,比如:缩放、旋转、全屏查看、手势操作等,并且可以展示视频、iframe 内容以及动态加载的内容;支持响应式布局,兼容所有主流浏览器。所以使用Vitepress切换博客框架后,第一时间就开始着手配置Fancybox。
封装组件
官方有给出 Vue示例,但是并不完全适配 Vitepress,这里对照着封装下。
根据官方示例,思路就是在 vue 组件被挂载时在 mounted 里完成绑定,在组件更新时在 update 里重新绑定,在组件被卸载时在 unmounted 里销毁。
那么在 VitePress 里,我们将在其全局主题配置 docs/.vitepress/theme/index.ts 中完成此设置,但是在 VitePress 中,切换页面后并不会触发 update,而是触发路由方法 onAfterRouteChange,所以我们用 onAfterRouteChange 代替 update,同时在切换路由之前 onBeforeRouteChange 中,销毁 Fancybox。
1. 封装组件 ImgViewer.ts
先封装一个组件 ImgViewer.ts,以便我们统一处理文章中的图片:
- 鉴于 Fancybox 的要求,不同图片的
data-fancybox属性值将归于不同图库,所以我们对图片统一设置此属性 - 由于个人在文章图片中没有单独设置
alt属性,所以统一设置此属性为离图片最近的标题文本
代码如下:
ts
import { nextTick } from 'vue'
import '@fancyapps/ui/dist/fancybox/fancybox.css'

// 查找图像之前最近的标题
const findNearestHeading = (imgElement) => {
  // 获取 img 元素的父节点
  let currentElement = imgElement
  // 循环向上查找
  while (currentElement && currentElement !== document.body) {
    // 在当前元素的前一个兄弟节点中查找 h1-h6 标签
    let previousSibling = currentElement.previousElementSibling
    while (previousSibling) {
      if (previousSibling.tagName.match(/^H[1-6]$/)) {
        return previousSibling.textContent.replace(/\u200B/g, '').trim() // 返回找到的标题内容
      }
      previousSibling = previousSibling.previousElementSibling
    }
    // 如果没有找到,继续向上一级父节点查找
    currentElement = currentElement.parentElement
  }

  return ''
}

export const bindFancybox = () => {
  nextTick(() => {
    const { Fancybox } = await import('@fancyapps/ui') // 采用这种导入方式是为了避免构建报错问题
    const imgs = document.querySelectorAll('.vp-doc img')
    imgs.forEach((img) => {
      const image = img as HTMLImageElement
      if (!image.hasAttribute('data-fancybox')) {
        image.setAttribute('data-fancybox', 'gallery')
      }
      // 赋予 alt 属性
      if (!image.hasAttribute('alt') || image.getAttribute('alt') === '') {
        const heading = findNearestHeading(image)
        image.setAttribute('alt', heading)
      }
      // 赋予 data-caption 属性以便显示图片标题
      const altString = image.getAttribute('alt') || ''
      image.setAttribute('data-caption', altString)
    })

    Fancybox.bind('[data-fancybox="gallery"]', {
      Hash: false, // 禁用hash导航
      caption: false, // 更换标题
      Thumbs: {
        type: 'classic', // 经典缩略图,"modern" 现代缩略图
        showOnStart: false // 开始不显示缩略图列表
      },
      Images: {
        Panzoom: {
          maxScale: 4 // 最大缩放比例
        }
      },
      Carousel: {
        transition: 'slide'
      },
      Toolbar: {
        display: {
          left: ['infobar'],
          middle: ['zoomIn', 'zoomOut', 'toggle1to1', 'rotateCCW', 'rotateCW', 'flipX', 'flipY'],
          right: ['slideshow', 'thumbs', 'close'] // 'slideshow' 自动播放
        }
      }
    })
  })
}

export const destroyFancybox = () => {
  const { Fancybox } = await import('@fancyapps/ui')
  Fancybox.destroy()
}2. 在全局设置中启用组件
我们在全局设置中根据不同生命周期和运行时API,启用不同的组件方法。代码如下:
ts
import type { Theme } from 'vitepress'
import { EnhanceAppContext, inBrowser } from 'vitepress'
import { h, onMounted, onUnmounted } from 'vue'
import DefaultTheme from 'vitepress/theme'
import { bindFancybox, destroyFancybox } from './components/ImgViewer' // 图片查看器

export default {
  extends: DefaultTheme,
  ...

  enhanceApp({ app, router }: EnhanceAppContext) {
    ...
 	   if (inBrowser) {
      router.onBeforeRouteChange = () => {
        destroyFancybox() // 销毁图片查看器
      }
      router.onAfterRouteChange = () => {
        bindFancybox() // 绑定图片查看器
      }
    }
  },
  setup() {
    onMounted(() => {
      bindFancybox()
    })
    onUnmounted(() => {
      destroyFancybox()
    })
  }
} satisfies Theme3. 修改默认样式
由于对Fancybox的纯黑背景不太感冒,修改为半透明高斯模糊遮罩层,代码如下:
scss
// fancybox 图片缩放
.fancybox__container {
  --fancybox-bg: none;
  .fancybox__toolbar {
    --f-button-bg: none;
    --f-button-hover-bg: rgba(var(--vp-c-bg-reverse-rgb), .1);
    --f-button-color: rgba(var(--vp-c-bg-reverse-rgb), 1);
    --f-button-hover-color: rgba(var(--vp-c-bg-reverse-rgb), 1);
    --f-button-svg-disabled-opacity: 0.2;
    background: rgba(var(--vp-c-bg-rgb), 0.2);
  }
  &::before {
    content: "";
    position: absolute;
    left: 0;
    top: 0;
    bottom: 0;
    right: 0;
    background: rgba(var(--vp-c-bg-rgb), 0.5);
    opacity: 0.96;
    backdrop-filter: blur(10px);
  }
}
.fancybox-image {
  object-fit: initial;
}
.is-classic .is-nav-selected .f-thumbs__slide__button::after {
  border-color: var(--weiz-primary-color); // 主题色修改为个人的
}
.fancybox__caption {
  color: var(--vp-c-text-1);
}此 css 也是最终引入 docs/.vitepress/theme/index.ts 即可
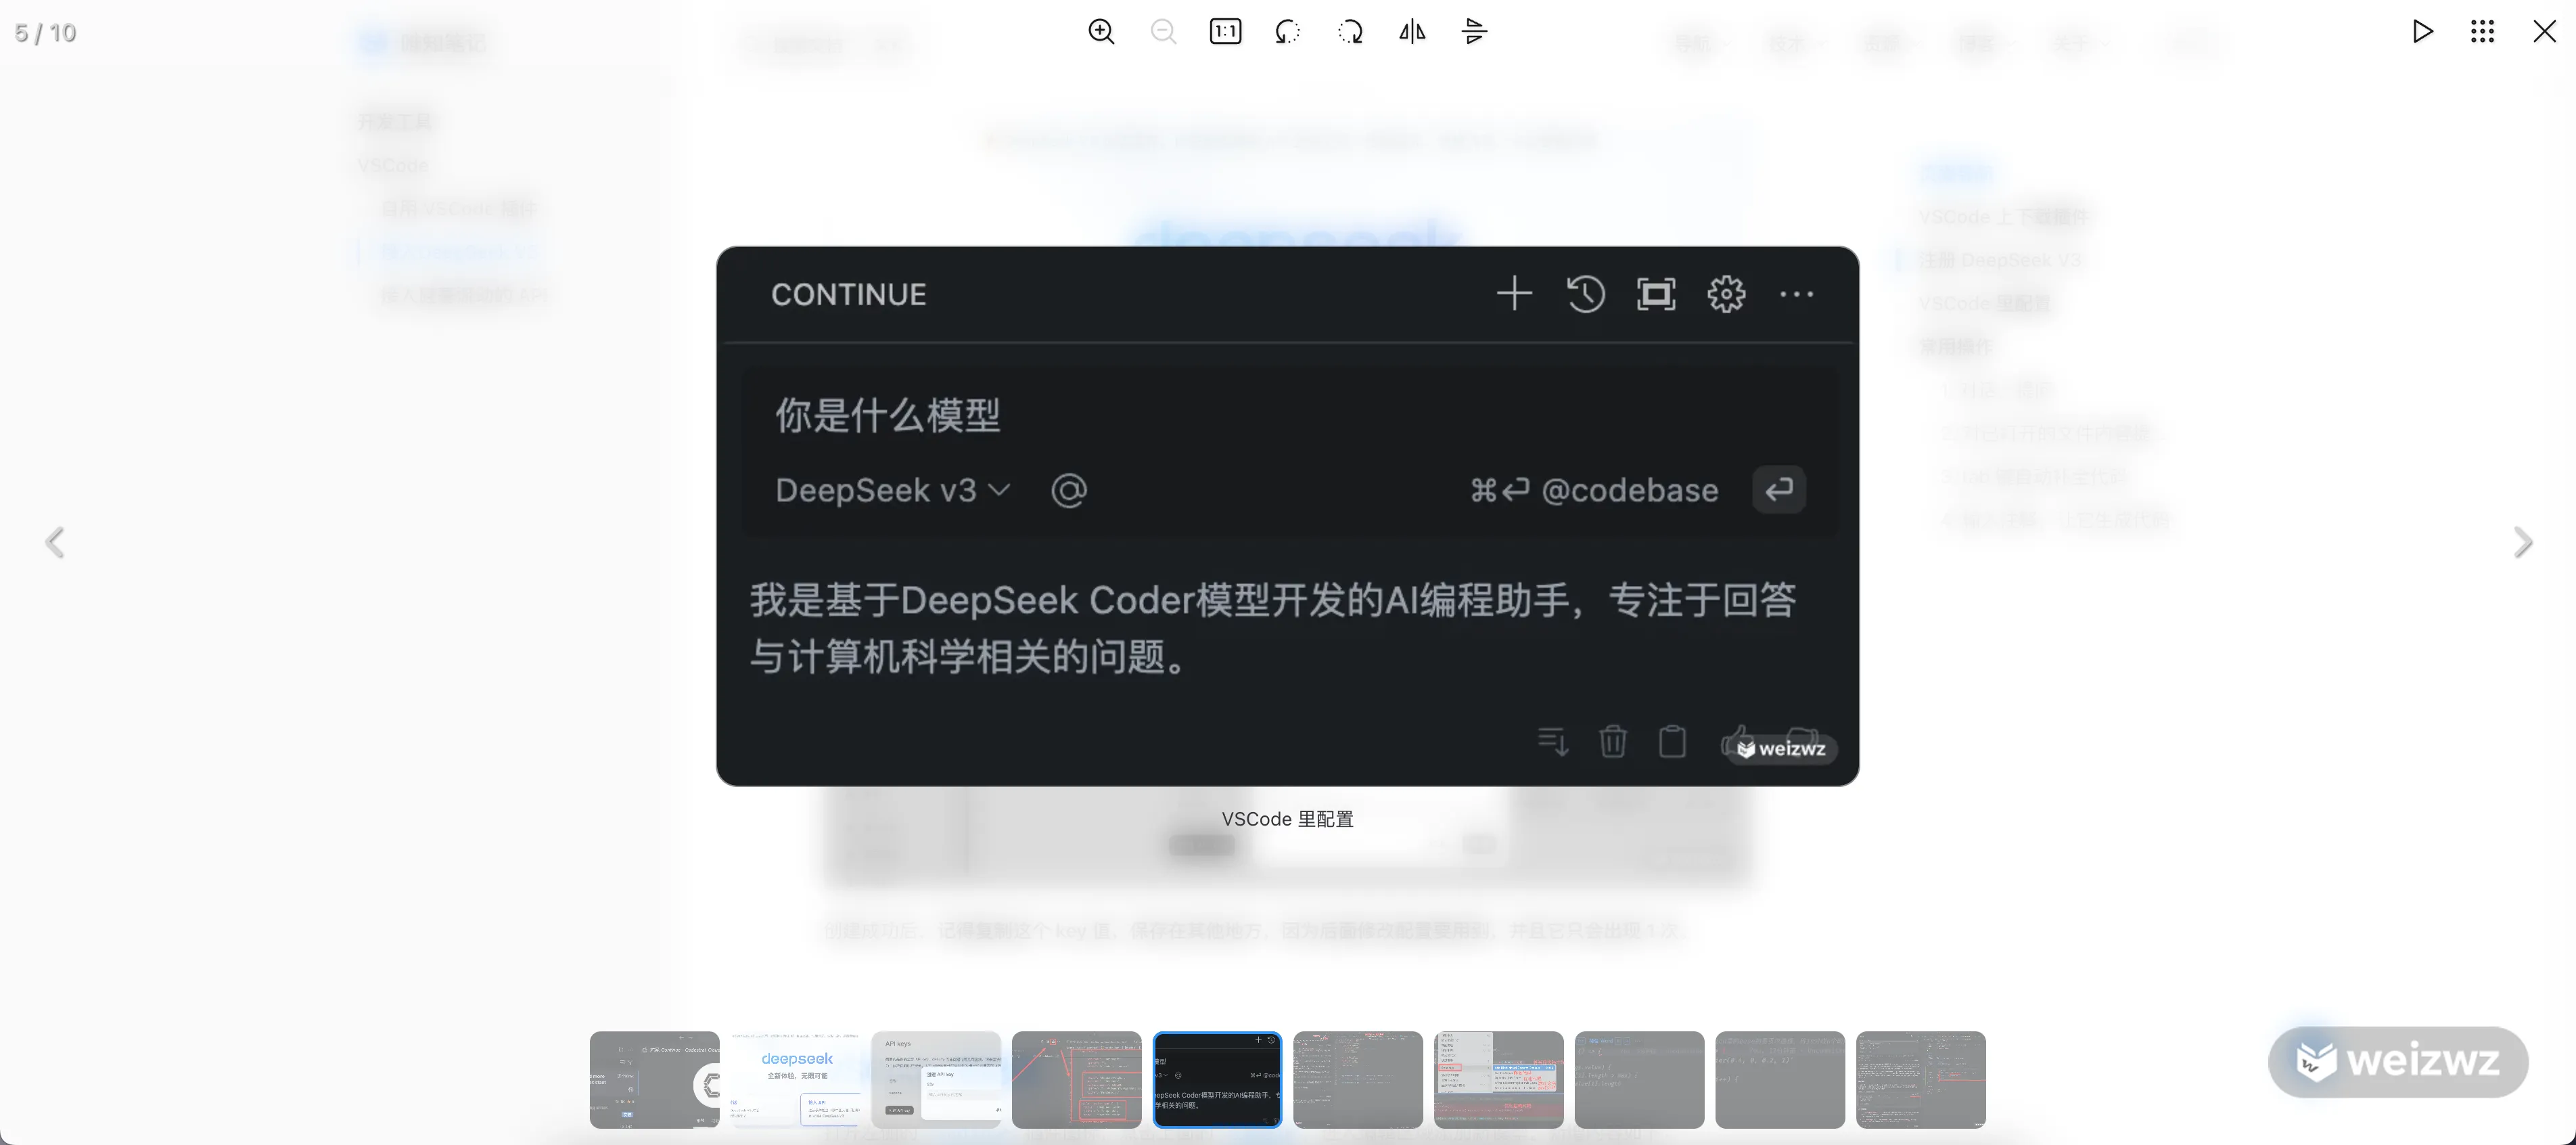
最终效果
封装并配置好后,我们查看界面效果,如图: